
If you are building a family desktop, home office computer, or first gaming rig, the best budget cpu cooler is usually not the one with the tallest tower or the most colorful lighting. It is the cooler that fits your processor, case, and budget without creating another problem six months from now. I have replaced enough noisy stock fans in Dell office systems to know that quiet, boring hardware is often the hardware that keeps working.
For most mainstream builds, I would spend about $25 to $45 on an aftermarket air cooler. That range buys a meaningful improvement over a basic Intel or AMD stock cooler without pushing your build toward unnecessary liquid cooling. You get lower fan noise, better temperatures under sustained work, and a little more room if the processor boosts its speed during a game or video export.
What a budget cooler actually needs to do
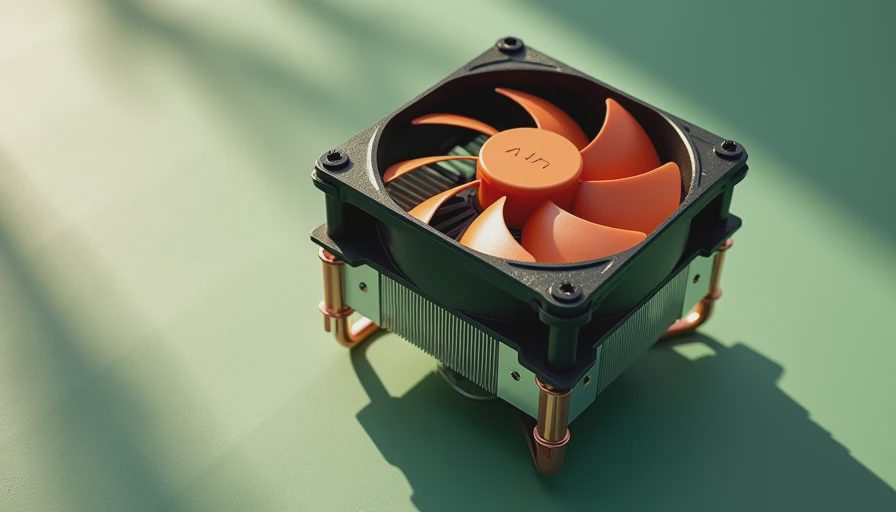
A CPU cooler has one job: move heat from the processor into the air and out through the case. The best budget cpu cooler does that with a copper contact plate or heat pipes, an aluminum fin stack, and a fan that can run slowly when the computer is idle. You do not need a massive dual-tower design for a typical Ryzen 5, Core i5, or similar six-core processor running at factory settings.
Look for a cooler with a stated thermal design range around 120 watts or higher, a 120mm fan, and mounting hardware for your CPU socket. Thermal design power is not a perfect measurement of real heat, but it gives you a useful comparison point. A cooler rated for basic 65-watt processors should not be your first choice for a high-power unlocked chip that will spend hours rendering video.
Height matters as much as cooling capacity. A $30 tower cooler can be excellent, but it will not help if the side panel will not close. Check your case's maximum CPU cooler height before ordering. Also check RAM clearance if the heatsink extends over the memory slots. These two measurements prevent the kind of Saturday afternoon mistake that turns a simple build into a return shipment.

The models I would consider first
For a lower-cost office or homework computer, the ID-COOLING SE-214-XT is a practical starting point when it is available near $20 to $25. It uses a compact tower design and a 120mm fan, giving it a useful advantage over many included coolers. It is not a luxury part, but it can make a modest build quieter without consuming much of the budget.
The Thermalright Assassin X 120 Refined SE is another strong value choice. Prices often move around the $20 to $30 range, and it generally offers a larger fin stack than the simplest stock solutions. Thermalright has several similarly named models, so check the exact socket support and dimensions on the retailer page rather than assuming every version is identical.
For a family PC using a processor such as a Ryzen 5 7600 or Core i5-14400, the be quiet! Pure Rock 2 is worth considering when its price falls near $35 to $45. It is a little more expensive, but the fan and overall finish are aimed at quiet operation. You are paying for a calmer sound profile and a familiar mounting system, not magical performance.
The Cooler Master Hyper 212 remains a recognizable option, although its value depends heavily on the sale price. At $25, it can be sensible. At $50, I would compare it closely with newer competitors before buying. The best budget cpu cooler changes with retail pricing, so a model name alone should not make the decision.
Air cooling versus a cheap liquid cooler
A 120mm all-in-one liquid cooler can look attractive because it includes a radiator and often has RGB lighting. For a normal family desktop, I usually would not choose it over a good air cooler at the same price. A liquid unit adds a pump, extra tubing, and another failure point. Even when it works properly, the pump can produce a faint hum that is more noticeable than a large, slow-turning air fan.
A $35 air cooler is also easier to inspect and replace. Dust the fins, replace the fan if it eventually becomes noisy, and keep using the heatsink. With an all-in-one cooler, the pump is a sealed component. If it stops, the entire cooler generally needs replacement. That does not make liquid cooling bad; it makes it a better fit for a specific high-heat or small-form-factor build than for a cost-conscious office computer.
If your processor is a 65-watt model and you are not manually overclocking, air cooling is the sensible default. Save the difference for a larger SSD, a better power supply, or an extra case fan. Those parts improve the whole computer instead of decorating one component.
Installation details that prevent trouble
Before mounting the best budget cpu cooler, remove the motherboard from the case if the case does not provide access to the rear mounting plate. It is much easier to align the bracket on a workbench than while balancing the board over a power supply. Read the cooler manual first because Intel and AMD mounting hardware often use different spacers and brackets.
Clean the top of the processor with isopropyl alcohol if it has old thermal paste on it. Put a small pea-sized amount of new paste in the center unless the cooler manufacturer gives different instructions. The mounting pressure will spread it across the heat spreader. Smearing a thick layer over the entire CPU usually creates more mess than benefit.
Tighten screws gradually in an alternating pattern. Do not force one corner down completely before touching the others. After the fan is attached, connect its cable to the motherboard header labeled CPU_FAN. The computer may warn about a missing CPU fan if that cable is plugged into a case-fan header instead.
How to choose by use case
If you are building a PC your kids will use for homework, web browsing, and light games, a $20 to $30 single-tower cooler is enough. Choose a model that fits the case and includes the correct socket hardware. Spending $70 will not make Google Docs open faster.
For a home office machine that handles large spreadsheets, photo editing, or occasional video work, move toward a $30 to $45 cooler with a quieter 120mm fan. Sustained workloads keep the CPU hot longer than a short game menu, so extra fin area and a better fan are useful.
For a first gaming rig with a six-core processor, the same $25 to $45 range usually makes sense. Put the money you save into airflow: two front intake fans and one rear exhaust fan are more helpful than an oversized cooler inside a poorly ventilated case. The best budget cpu cooler cannot overcome a case that traps hot air.
My final buying check
Before clicking Buy, confirm four things: the CPU socket, cooler height, RAM clearance, and included mounting hardware. Then look at the return price and fan replacement availability. A cooler with a standard 120mm fan is easier to maintain than one requiring a proprietary replacement.
I would skip unknown brands with no clear manual, no socket compatibility list, and no way to identify replacement fans. A slightly cheaper part is not a bargain if installation instructions are missing or the bracket feels flimsy. In my garage builds, I would rather spend an extra $8 on a cooler I can install confidently than save that money and wonder whether the mounting pressure is correct.
For most everyday computers, the best budget cpu cooler is a modest tower air cooler from a known retail brand, installed carefully in a case with decent airflow. It will not win a benchmark contest, and that is fine. Your goal is a computer that stays quiet during homework, stable during a long game, and easy to service years later. Build it once. Build it right.