
A cheap gaming PC does not have to mean a noisy tower, mystery-brand power supply, and a blue screen six months after Christmas. If you are buying a first gaming computer for your kids, setting up a home office that also runs Fortnite, or replacing an aging desktop, the goal is simple: spend money on the parts that affect daily use and avoid the parts that create trouble later.
I have spent years troubleshooting Dell OptiPlex systems and PowerEdge servers, and the lesson carries over to home computers. Reliability is not glamorous. It is a decent power supply, sensible cooling, enough memory, and a case you can open without needing three hands. Build it once. Build it right.
What a cheap gaming PC should cost
For a new cheap gaming PC using normal retail parts, plan on roughly $650 to $900 for the tower. That range can deliver smooth 1080p gaming in titles such as Minecraft, Rocket League, Valorant, Roblox, and Fortnite. A monitor, keyboard, Windows license, and speakers can add another $150 to $300, depending on what you already own.
If the total budget is closer to $500, consider a refurbished business desktop only if it has a modern processor, a standard power supply, and room for a graphics card. An older Dell OptiPlex can be a useful homework machine, but many slim models cannot accept a full-size GPU. That limitation turns an apparently cheap purchase into an awkward upgrade project.
At the other end, an $850 cheap gaming PC tower gives you more breathing room. You can usually target a six-core processor, 16GB of memory, a 1TB solid-state drive, and a graphics card intended for 1080p play. That is a much better family purchase than spending $700 on lights and a weak proprietary system.

Spend money on the right parts
The graphics card does most of the heavy lifting in games, so it deserves the largest part of the budget. Current entry-level options from AMD and NVIDIA can both make sense; choose based on the actual price and the games being played rather than internet arguments. For a cheap gaming PC, a card designed for 1080p is usually more practical than chasing high-resolution gaming.
The processor matters when the computer is also used for schoolwork, streaming, light video editing, or many browser tabs. A recent six-core AMD Ryzen 5 or Intel Core i5 is a sensible starting point. You do not need the most expensive chip in the socket. In a family computer, money often produces a better experience when moved from an oversized processor into a stronger graphics card or a larger SSD.
Buy 16GB of RAM as two matching 8GB modules. Two modules allow the memory to work more efficiently than a single stick, and 16GB is a comfortable floor for modern Windows gaming. If the machine will handle heavy creative software, 32GB is a useful upgrade, but it is not required for a first build.
For storage, choose a 1TB NVMe SSD if the budget allows. It makes Windows start quickly and gives games room to grow. A 500GB drive looks inexpensive until three large games fill it. Adding another drive later is possible, but moving a family photo folder and game library is an avoidable chore.
The parts I refuse to cheap out on
The power supply is where many budget builds go wrong. A generic 600-watt unit with a dramatic label is not automatically safe. Look for a reputable model with an 80 Plus efficiency rating, a real warranty, and enough power for the selected graphics card. Brands such as Corsair, Seasonic, be quiet!, and Thermaltake have product lines at different quality levels, so judge the exact model rather than the logo alone.
A 550-watt or 650-watt unit is often enough for a mainstream 1080p system. Buying 1,000 watts for an entry-level computer wastes money and does not make the system faster. I would rather install a good 650-watt unit than gamble on a bargain 850-watt model from an unknown seller.
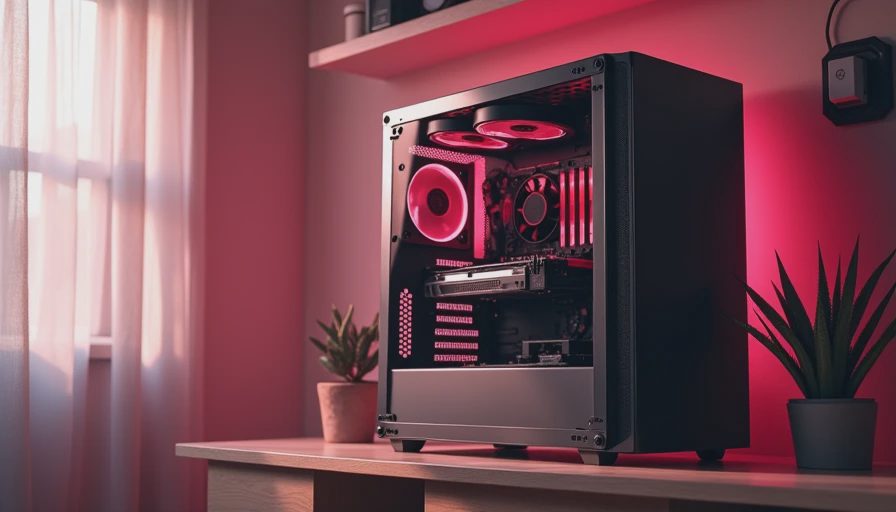
Cooling is the other quiet reliability decision. The stock cooler included with some processors is adequate for ordinary gaming, especially in a case with a front intake fan and rear exhaust fan. You do not need a liquid cooler for a basic family computer. A $25 to $40 tower air cooler can be quieter and easier to maintain, with no pump to fail.
Prebuilt versus building your own
A prebuilt cheap gaming PC can be the right answer when you value a single warranty and do not want to diagnose a loose front-panel cable. Lenovo Legion, HP Victus, Acer Nitro, and similar lines are worth comparing when they are discounted. Read the specification carefully. Some systems use proprietary motherboards, limited cooling, or one memory module, which can make future upgrades less convenient.
Building from parts usually gives you better control over the power supply, airflow, storage, and upgrade path. It also gives a parent and child a useful afternoon project. The first build may take three to five hours if you move carefully, watch the motherboard manual, and test each connection before closing the case.
There is no shame in paying a local shop $100 to $200 for assembly and testing. That fee can be cheaper than replacing a damaged motherboard after forcing a connector into the wrong socket. A good shop should provide the parts list, install updates, verify temperatures, and explain what warranty applies to each component.
A buying process that prevents expensive mistakes
Start with the games and monitor resolution, not a processor brand. If the current monitor is 1080p at 60 or 75 Hz, a midrange graphics card is enough. Spending hundreds extra for hardware designed for 1440p does not improve a display that cannot show those extra frames.
Next, use a compatibility tool such as PCPartPicker to check socket, memory, case, and power requirements. Treat its warnings as prompts to investigate rather than automatic deal breakers. Then read the motherboard manual before ordering a case. A small case may accept the motherboard but leave no room for the graphics card or front-mounted fans.
Finally, price the complete system. Include Wi-Fi, Windows, a monitor, and a second storage drive if the family needs one. A cheap gaming PC that cannot connect to the home network or hold the intended games is not a bargain. Save receipts, photograph serial numbers, and keep spare modular power cables with the original power supply; cables from different models are not always interchangeable.
My practical recommendation for families
If you are buying a cheap gaming PC for homework and weekend gaming, I would target a recent six-core processor, 16GB of dual-channel memory, a 1TB NVMe SSD, and a dependable 1080p graphics card. Put the computer in a ventilated case, install two quiet fans, and skip RGB if it forces you to downgrade the power supply or storage.
Buy a refurbished desktop only when you understand its upgrade limits. Choose a prebuilt when warranty simplicity matters. Build from parts when you want the cleanest long-term value and are willing to follow instructions slowly. Whichever path you take, test the system during the return period, update the firmware, and check that temperatures remain reasonable during a full gaming session.
The best cheap gaming PC is not the one with the lowest checkout price. It is the one that starts every morning, runs the games your family actually plays, and still has a sensible upgrade path two years from now. Build it once. Build it right.